
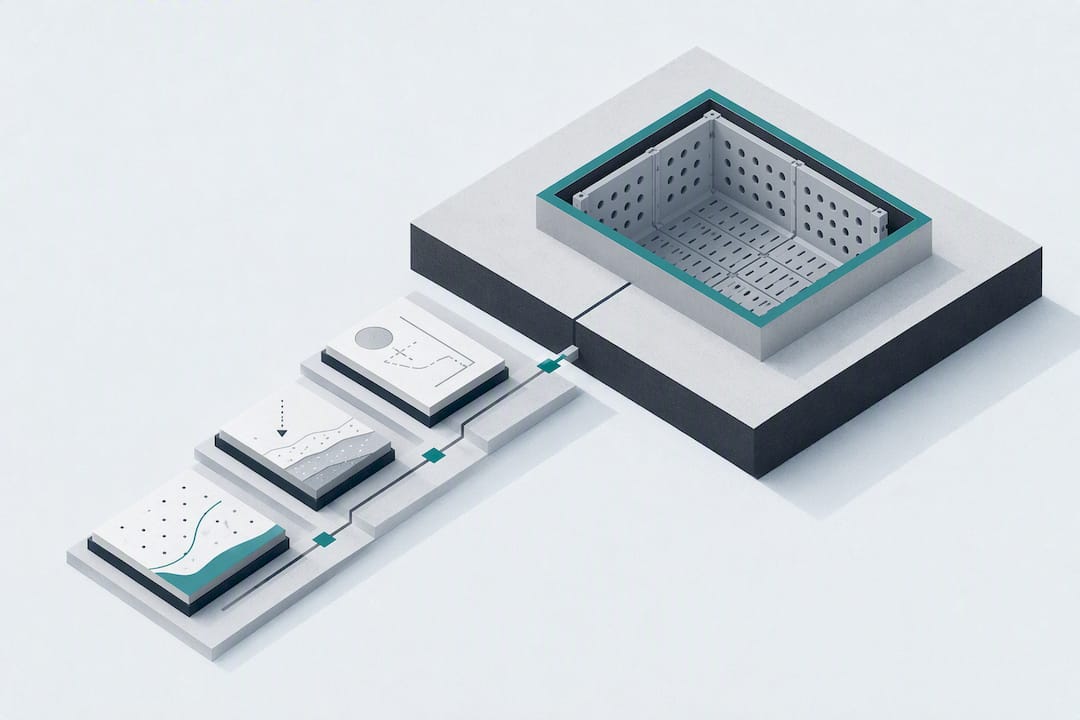
If your soil percolates and you can keep the base at least 1.0 to 1.2 metres above the seasonal groundwater table, a soakaway is usually the right, regulation compliant way to dispose of roof and driveway water. The next move isn’t a spreadsheet. It’s a percolation test, run to the Approved Document H and BRE Digest 365 methodology, or a brief to a competent designer who can run one for you.
TL;DR:
- Conduct a percolation test following BRE Digest 365 to determine soil infiltration rates, especially in winter or early spring when water tables are highest.
- Siting a soakaway requires at least 5 meters from buildings, 2.5 meters from boundaries, and 1.0 to 1.2 meters above the seasonal groundwater level, with site-specific assessments in sensitive zones.
- For a typical domestic roof of about 80 square meters in medium sand, an estimated storage volume ranges from 1.5 to 3.0 cubic meters, depending on percolation results.
- Crate systems with approximately 95% void ratio offer significantly more storage per excavation volume than rubble pits, reducing costs and installation time for domestic projects.
- Proper testing, documentation, and site-specific calculations are essential to avoid soakaway failures caused by silt clogging, undersized design, or unsuitable ground conditions.
Table of Contents
- When is a soakaway permitted under UK Building Regulations?
- How do you run a percolation test for a soakaway?
- How do you size a soakaway using BRE Digest 365?
- Crates or rubble: which soakaway construction actually works better?
- What does a compliant installation checklist look like on site?
- Why do soakaways fail, and how do you maintain one?
- What should a competent soakaway design package include?
- Why testing beats guessing on every soakaway job
- Get review-ready soakaway calculations from Xponexus Engineering
- Where to check the official soakaway standards
- Sources
When is a soakaway permitted under UK Building Regulations?
Approved Document H (Part H3) sets out a hierarchy for surface water disposal, and infiltration to ground sits near the top of it. If your soil will take the water and the site isn’t constrained, Building Control expects you to use a soakaway before you consider a sewer connection. That’s not a suggestion. It’s the default position the regulations push you towards.
Before you dig a test pit, rule the site in or out against the standard siting clearances:
- At least 5 metres from any building, including your own
- At least 2.5 metres from a site boundary
- At least 5 metres from a water main
- A base at least 1.0 to 1.2 metres above the highest seasonal groundwater level
Some sites require further assessment. Flood zones, groundwater source protection zones, contaminated land and conservation or listed sites often necessitate consultation with the local authority or the Environment Agency before proceeding with a soakaway design, as these factors can influence its location or storage requirements. If any of those flags apply, that consultation happens before the percolation test, not after, because it can change where you’re allowed to dig at all. Local authority technical guidance, such as Horsham District Council’s soakaway pages, gives a useful sense of the evidence councils actually want to see on submission.
How do you run a percolation test for a soakaway?
The percolation test is the single most important piece of evidence in the whole design, and it’s simpler than most homeowners expect. BRE Digest 365 sets the procedure, and it hasn’t changed in decades because it doesn’t need to.
- Excavate a test pit 300mm by 300mm to the proposed base depth of your soakaway.
- Fill the pit with water and let it pre-soak, ideally overnight, so the surrounding soil is saturated before you take a real reading.
- Refill the pit to the top and start timing.
- Record the time taken for the water level to fall from 75% to 25% of its depth.
- Repeat the fill and timing at least three times, and take the average.
- Convert the average time into Vp, expressed in seconds per millimetre, then into an infiltration rate f in metres per second.
- Dig at least two or three trial pits across the proposed soakaway footprint and use the geometric mean of the results, not the best one.
For a trench soakaway longer than 10 to 25 metres, BRE Digest 365 asks for repeat tests along its length, because ground conditions rarely stay uniform over that distance. Test in winter or early spring where you can, since that’s when the water table sits highest and the result you get is the one that actually matters for sizing.
Pro Tip: Photograph every test pit with a tape measure in shot, and log the exact fill and drain times on paper before you touch a calculator. Building Control will ask for this raw data, not just your finished Vp figure.

If your Vp comes back very high, meaning the ground barely drains at all, a soakaway isn’t a viable answer and you’re into attenuation tanks, permeable paving, or a controlled discharge to a watercourse or sewer instead.
How do you size a soakaway using BRE Digest 365?
BRE Digest 365 works on a simple balance: water goes in faster than it goes out during a storm, and the soakaway has to store the difference without overflowing. Three numbers drive the whole calculation.
- Vin — the inflow volume, roughly catchment area multiplied by design rainfall for the storm duration you’re checking
- Vout — the outflow volume, calculated as infiltration rate f multiplied by the base area, multiplied by duration, multiplied by 0.5 (a factor that accounts for outflow ramping up as the soakaway fills)
- Vstorage — simply Vin minus Vout, which is the void volume your excavation needs to provide
For small domestic roofs, Approved Document H offers a simplified route for catchments up to 25 square metres, which saves a lot of arithmetic on a garage extension or a porch. Anything larger, and any commercial or multi-dwelling scheme, needs the full BRE 365 iteration across several storm durations, because a short intense downpour and a longer, gentler one stress a soakaway in different ways, and you have to size for whichever duration produces the largest Vstorage.
Once you have a storage volume, check drain-down time. Building Control generally wants the soakaway empty within roughly 24 hours of the storm ending, so if your calculation shows longer than that, you increase base area or add depth rather than accept a slow-draining pit that never fully resets before the next downpour.
Illustrative examples circulating in the trade suggest an 80 square metre roof in medium sand at 50mm per hour rainfall often lands somewhere around 1.5 to 3.0 cubic metres of storage, though this varies with your own percolation result and should never replace a site-specific calculation. Translating storage volume into crate count depends entirely on void ratio: a crate system at roughly 95% void needs far less excavation than a rubble pit running at 30 to 40%, sometimes by a factor of two or three for the same stored volume.
Crates or rubble: which soakaway construction actually works better?
The void ratio gap between crate systems and rubble pits is the single biggest driver of your excavation bill. Rubble fills roughly 30 to 40% of the pit with usable storage; modular plastic crates hit around 95%. On a typical domestic job, that means a smaller hole, less spoil to remove, and a faster install day, even though the crates themselves cost more per unit than a skip of hardcore.
- Wrap the crate assembly fully in a non-woven geotextile before backfilling, to keep fines out of the voids
- Fit a silt trap on the inlet pipe, upstream of the crates, so it can be cleaned without disturbing the structure
- Include at least one inspection chamber giving direct sight into the soakaway
- Keep the base typically between 1.0 and 1.5 metres deep, checked against any nearby foundations
Pro Tip: Never place a soakaway where its zone of influence could reach a foundation. On tight plots, a lined attenuation unit with controlled discharge is often the safer answer than fighting for clearance.
What does a compliant installation checklist look like on site?
- Confirm siting clearances and mark out the pit against buildings, boundaries and the water main before digging.
- Set incoming pipe gradients correctly and position the silt trap where it’s reachable for future cleaning.
- Install the inspection or access chamber and confirm it gives a clear sightline into the structure.
- Label the soakaway accurately on the drainage plan submitted to Building Control.
- Submit the percolation test results alongside the BRE-based calculation, not as an afterthought.
- Keep dated photographs of every test pit and a copy of the calculation spreadsheet on file, since Building Control can ask for this at any point during the build.
Why do soakaways fail, and how do you maintain one?
Most soakaway failures trace back to one of three causes: silt working its way into the voids over years, a system that was undersized for the roof area it actually serves, or a pit sited in ground that never suited infiltration in the first place.
- Clean silt traps annually, ideally before autumn leaf fall
- Keep gutters and downpipes clear so grit doesn’t wash straight into the system
- Check the inspection chamber once a year for standing water that hasn’t drained within a day
- Commission dredging, relining, or a full redesign if drain-down consistently exceeds 24 to 48 hours
Standing water in the garden weeks after rain, or damp patches creeping towards a foundation, are the two signs that mean act now rather than wait for the next wet winter.
What should a competent soakaway design package include?
Building Control wants a defined evidence package, not a verbal assurance that “it should be fine.” That means a percolation test report with raw timings, a BRE Digest 365 calculation showing Vin, Vout and Vstorage across the governing storm duration, a labelled drainage plan, inspection access details, and a short method statement covering construction sequence.
New dwellings, extensions with a large catchment, high groundwater sites and anything constrained by boundaries or flood zone status generally warrant an engineer rather than a rule-of-thumb calculation. This is where remote embedded engineering support earns its place: Xponexusengineering works inside UK consultancies’ own workflows, turning around review-ready calculation packages and drawings without the cost of a permanent hire, at up to 70% less than a local equivalent.
Why testing beats guessing on every soakaway job
The temptation on a small job is to skip the test and size by rule of thumb. That’s how soakaways end up flooding gardens two winters later. Ground conditions vary metre to metre, and a competent design only reduces risk when it’s built on your own site’s actual percolation figure, gathered before you ring anyone for design help.
— Mohammed
Get review-ready soakaway calculations from Xponexus Engineering
An alternative to hiring a full-time drainage engineer or waiting weeks on a local consultancy’s queue is to engage embedded remote engineers who can plug into your existing workflow and turn a percolation test into a review-ready BRE Digest 365 calculation, drawing set, and method statement, often promptly after kick-off.

The scope is deliberately honest. The service prepares the documentation Building Control will ask for, calculations, labelled drainage plans, and BIM coordination where a project needs it, but the physical percolation test still has to happen on your site, by you or your contractor. Send over your test pit data and site sketch, and the team can turn that into a submission-ready package aligned to UK standards and Eurocodes, with projects typically kicked off promptly and full NDA protection on every job. If you’ve got a percolation result sitting in a notebook and need it turned into a calculation Building Control will accept, get in touch through the services page and start the conversation.
Where to check the official soakaway standards

For the calculation method itself, BRE Digest 365 remains the reference every UK designer works from. Approved Document H sets the statutory siting and infiltration requirements, and a simplified online calculator for catchments under 25 square metres is useful for a quick sanity check before committing to a full BRE iteration. For planning-adjacent constraints like flood risk and protected sites, general environmental planning guidance is worth a read alongside your local authority’s own technical pages.
Leave a Reply